N8MR
Quest for DXCC on 160 Meters
The minimalist's approach
Setup #1 - 1 Radial
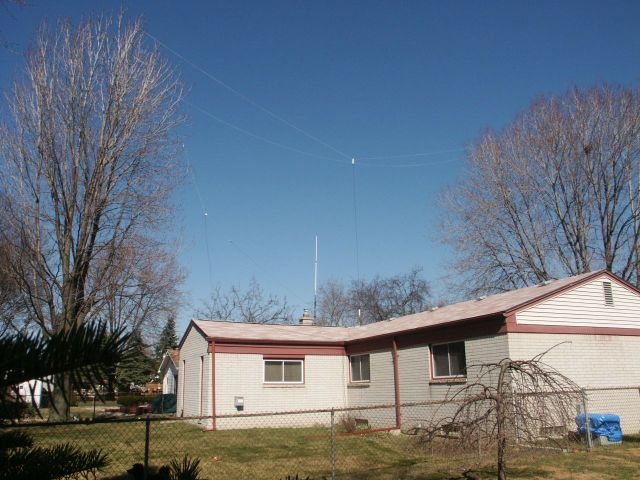
Antenna placement, facing north.
The Inverted L starts at the bottom of the maple tree to the left. From there it runs up the
far side of the tree, over the top and out to the maple tree to the right. The end is terminated
with a ceramic egg insulator, which is positioned in an open spot, free from branches or leaves.
Both trees are approximately 70 feet tall and 80 feet apart.
The Carolina Windom 80 is parallel and approximately 8 feet away from the inverted L.
Both antennas have ceramic egg insulators which connect the ends to Dacron rope.
Radiating elements of both antennas are made of 12 AWG stranded wire with THHN
insulation. The ends of both antennas are clear of any tree branches or leaves.
The antenna sloping from the tree on the left to the roof is a 6-Meter 5/8-wavelength dipole.
The inverted L tunes up fairly well on 6-Meters and gets out better than the sloper!
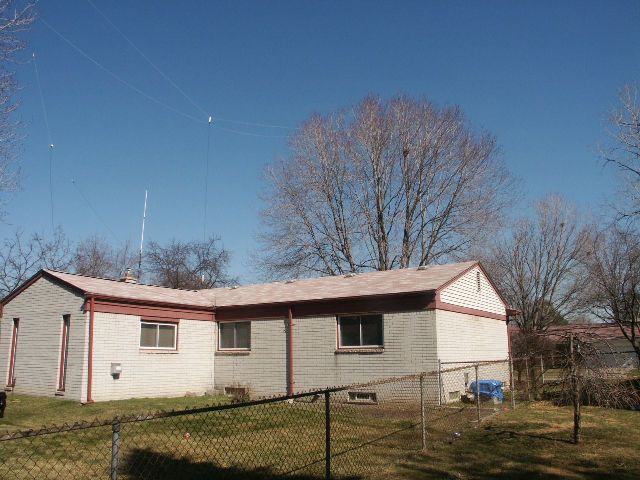
Antenna placement, facing northeast.
How did you get those wires up there?
That's the question most often heard from neighbors. It takes lots of practice with a trustyEZ-Hang. It just so happens that the length of the antennas is such that the ends do not contact
any tree branches. This is very important, in that I do not want any possibility of arcing in wet
weather. This is more of a factor with the Windom (where I run approximately 600 watts max
with an SB-200 amp) than with the inverted L. However, I didn't want any unexpected results.
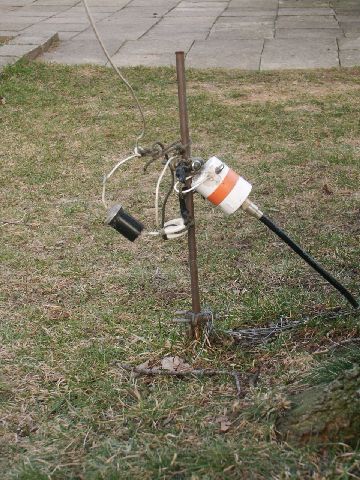
The feedpoint, using a 1000pF series capacitor encased within a sealed 35mm film canister.
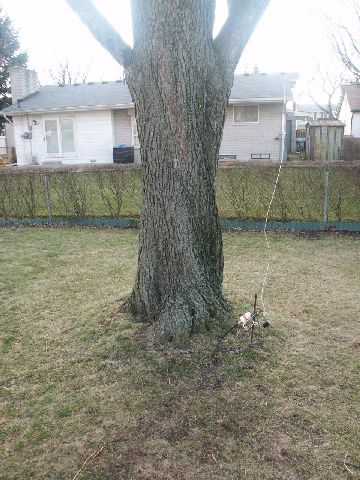
The feedpoint and lower portion of the horizontal section, which runs up the tree
and over the top branches before heading east horizontally.
Click here for more information on my "new and improved" feedpoint.
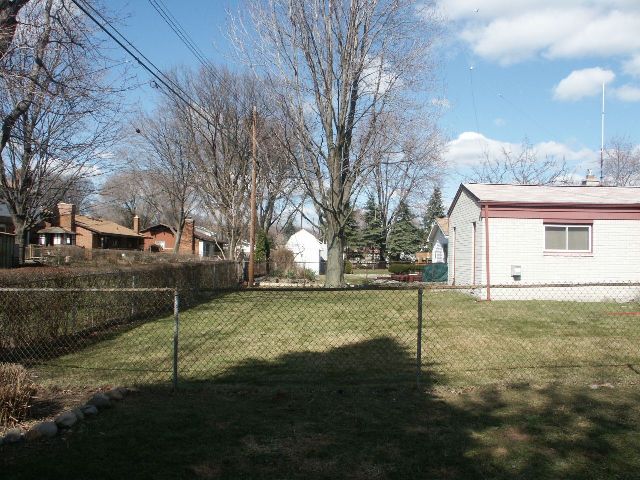
The "radial farm" - a fence through which the radial runs.The radial starts at the far right
corner, then runs counter-clockwise along the bottom of the fence to a point in the
foreground, just to the right of the second fence post.
Setup #2 - 14 Radials
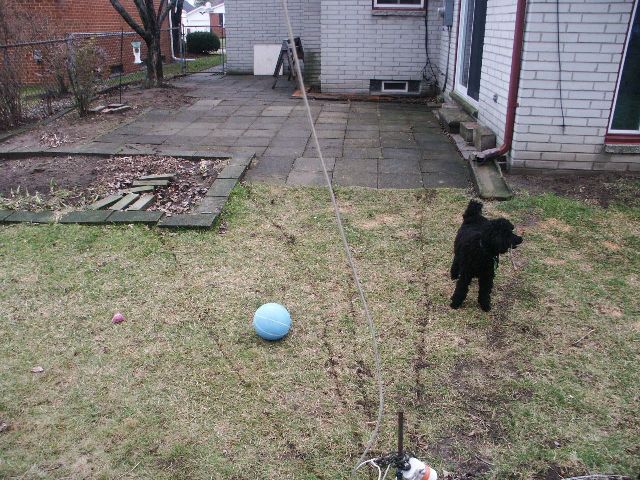
All radials are below ground level, with the reason for burying them standing to the right.
The east-bound wires run under the patio stones and to the walls of the house. All wires
buried in the grass are just below the roots.
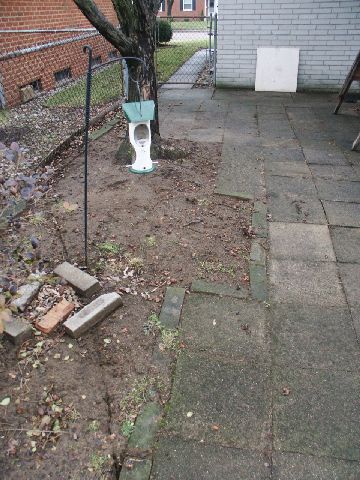
One of the radials is buried in the flower bed (under the loose bricks) and runs eastward
to the sidewalk.
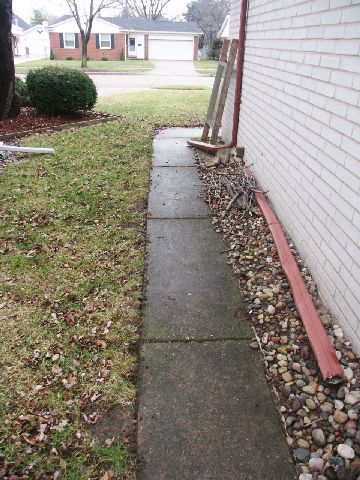
The sidewalk is along the north side of the garage. The radial runs along the left side
of the sidewalk.
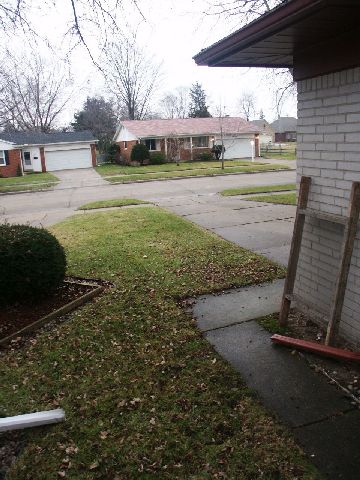
The radial then turns south, runs five feet to the driveway, turns back east, then down the
driveway. This radial is parallel, more or less, to the horizontal portion of the inverted L.
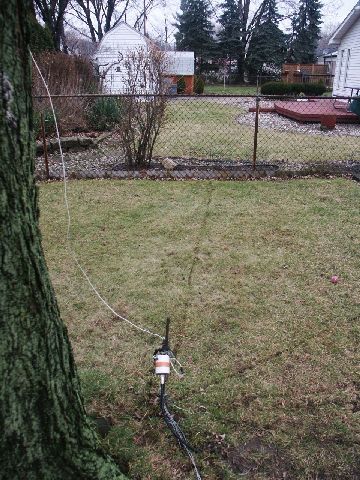
One eight-foot radial heads north from the feedpoint.
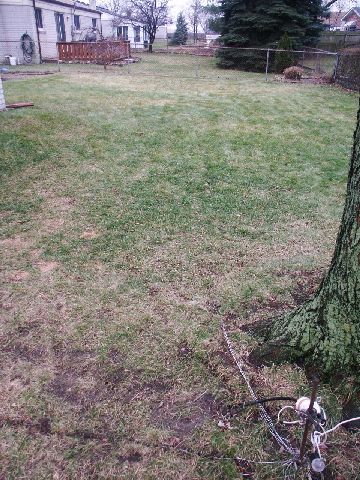
Radials heading south and southeast from the feedpoint. All wires buried in the grass are
just below the roots. The ends of all radials buried in the yard are within 12 inches of the
fence, but do not touch it. Wherever possible, I made sure the ends of the radials were
within 0.015 wavelength (15.7 feet) of each other, per ON4UN's Low Band DXing, 3rd Edition.
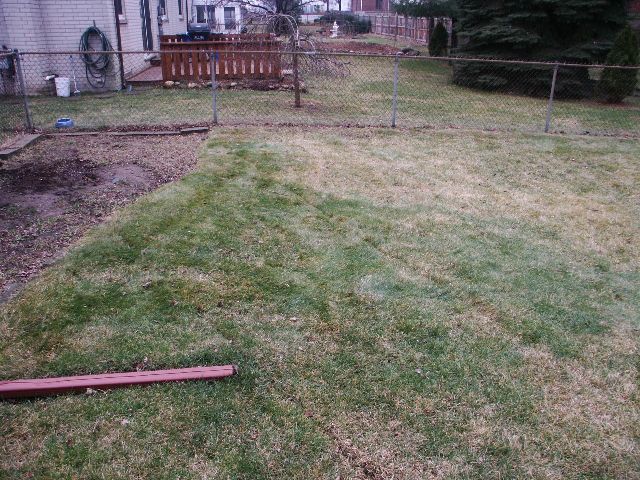
Two radials heading southeast.
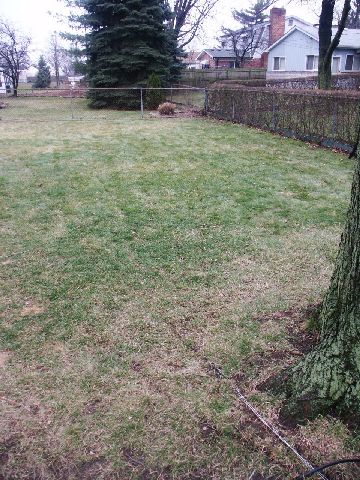
Three radials head southwest.
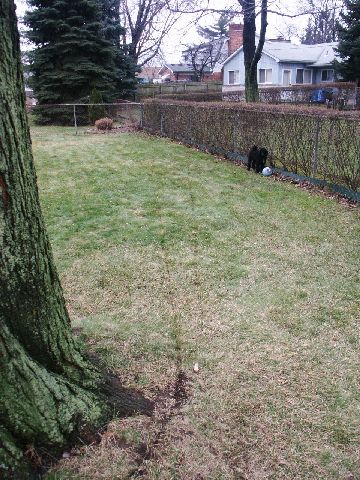
Two radials heading southwest.
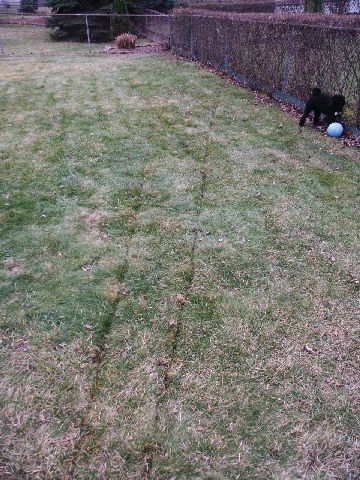
Two radials heading southwest.
Setup #3 - 16 Radials
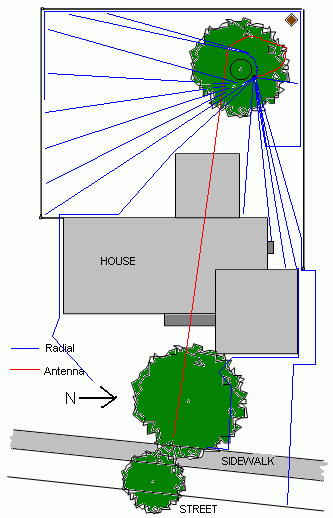
Buried two more radials (most likely the last two) six months after the previous 14. Both
radials are 1/4 wavelength (128 feet).
Radial #15 was buried from the feedpoint to the southeast part of the back yard. It then
heads eastward along the south side of the house. Once it clears the southeast part of
the house, it turns and heads northeast.
Radial #16 was buried from the feedpoint eastward, under the patio and along the north
side of the garage. At the east side of the garage, it heads south between the sections of
concrete, under the expansion strips. Once the radial gets to the southeast part of the
garage, it turns and heads east, along the south edge of the driveway to the sidewalk.
At the sidewalk, it turns south and runs about six feet until it ends.
Setup #4 - 21 Radials with Six More in the Basement
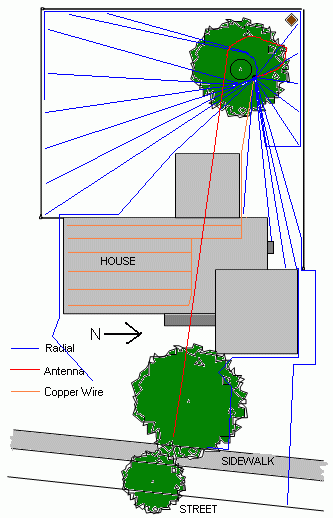
Buried four more short radials running northeast to northwest, plus another running eastward,
toward the house. Also added a six-radial grid inside the house, in the basement rafters. This
grid was connected to the eastward radial previously mentioned. The indoor radials only get
connected to the outdoor radial system during the winter, when the chance of lightning
occurring is minimal.
Setup #5 - 24 Radials with Six in the Basement
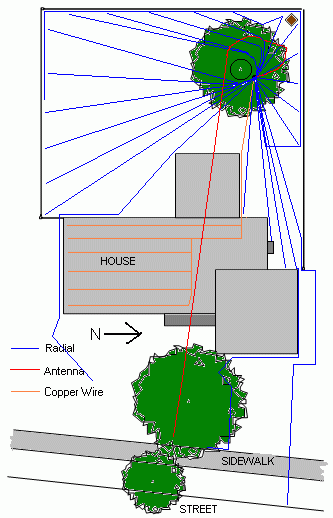
October 15, 2006
Buried three more short (approx. 30 feet) radials along the west side of the tree. None of
the three are straight. This fills in a gap in the radials, as well as adds more wire to the
system. I connected an MFJ-259B antenna analyzer to the feedpoint and made the
following measurements:
Freq: 1.845 MHz
R: 28-ohms
Z: 18-ohms
SWR: 1.9
No telling how much of a difference these additional radials made, as I had not measured
the previous installations.
Setup #6 - 33 Radials with Six in the Basement
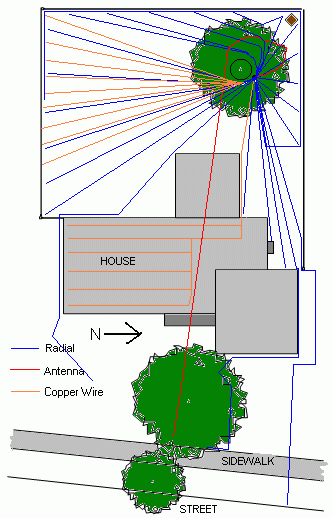
November 23, 2010
During the annual autumn cleanup, I noticed that some of my original electric fence
radials were badly corroded and brittle. It was time to add more radials that could last
longer than the galvanized wire I'd been using for the past eight years.
Earl Cunningham, K6SE (SK) told me back in 2003 that he used 26AWG enameled copper
wire for his radials. So using Earl's suggestion, I scoured the internet to find enameled
copper wire that was at least 26AWG. That lead me to the defacto online auction site, where
I found a dealer that sold various gauges of copper wire with enameled coating. Five days
later, 1000 feet of 19AWG wire was delivered to my doorstep. The only trouble was, the
weather was starting to get cold and rainly.
With only a few days of free time and good weather left in the season, I buried nine radials
made of the newly acquired wire. I decided to start my radial replacement starting with the
oldest radials - the ones that ran to the south. With nine of them in place, I decide that might
be a good time to assess the new configuration. Two days later, I heard ZL8X and worked
them on the first call, above a group of non-hearing stations. If I do not get a chance to
install more radials this season, the present configuration should be okay.
Return to N8MR
"New and Improved" Feedpoint
Receiving Loop Antenna
How am I doing with this setup?
N8MR tracks all comments and questions for this page.